Second-generation Tundras are the go-to used truck for those fortunate enough to remember to test run them. Its stability control, tailgate assist, traction control, and brake assist are a few reasons it is an excellent offroader.
Car mods and upgrades highlights
- Commonsystems:engines, interior, exterior, suspension
- Average prices:$1,500 - $7,000
- Average waiting time:7 - 21 days
- Commonreasons:higher speed, power, and visual improvements
- DIY mods:just minor visual changes
- Level of satisfaction:high
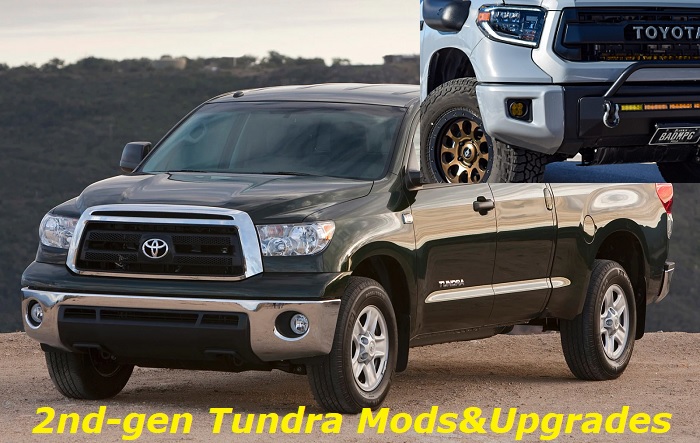
2nd Gen Tundra Mods - Some Mods You'll Love
We have six great 2nd-gen Tundra mods and brief guides to help you make those changes. Here we will cover how to change the grille, add a lift kit, make tire mods, swap exhausts, add a winch, and replace headlights.
Change The Grille
A major mod you can make to your 2nd gen Tundra is to alter your front end. Second generations earn top marks for reliability. Sadly, they are not the most beautiful to look at. So, it is understandable if you wish to swap your existing grille for a more appealing alternative. Also, driving with a faulty grille is risky because it exposes your Tundra radiator to elements.
The first step to swapping your car grille is to purchase an aftermarket product. Choose the design that fits you. Winter fronts and bug screens are a fancy addition to protect your grilles from snow, hail, bugs, rock chips, and debris.
Once you have made your grille pick, the next step is to remove your old grille. Most times, the only things holding it to your front clip are just a few screws, clips, and bolts. If you are using an OEM grille, you can unhinge your grille with the help of your car manual.
After unhinging the old grille, it is time to mount the replacement. Follow the instructions for installing the new grille with the aid of the new installation hardware that accompanied the product.
You may even take things a step further by carrying out a full facelift. To do this, you will have to purchase the full front clip of the desired model year. This will mean purchasing a new hood, fenders, grille and radiator support, front bumper, headlights, and filler panels.
Unless you are an auto technician, you must engage a professional to carry out the front swap.
Add a Lift Kit
Regardless of whether the goal is suave looks or functionality, almost every Tundra owner wants a lift kit. The three lift kits for the front of your truck are the Coilover, spacers, and coils.
Spacers lifts are favored for their affordability. There is no cheaper way to improve the lift of your truck, and it is achieved by inserting a spacer between your Tundra's suspension and the truck's body. Unfortunately, they are not ideal for serious offroaders.
Coilover lift kits require the replacement of the Coilover-a combo of the front coil spring and shock assembly. On the other hand, Coils are just the coil alone; replacing them can help add some lift. However, for maximum results, a Coilover replacement is mandatory. This will boost your offroad abilities by optimizing your lift and performance.
- Types of Lift Kit
The three types of rear lifts are lift blocks, leaf packs, and add-a-leaf.
Add-A-Leafs increase your rear suspension curve, adding to your truck's lift and load capacity.
Lift blocks are to the rear, while spacers are to the front. They fit between the leaf springs and axles, gifting your car a few inches of lift without offroad capabilities. They are cost-effective for basic off-road activities but cannot handle serious off-road maneuvers.
Leaf packs are the coilovers of the rear. They replace your OEM stock leaf springs and, depending on the product, will increase your hauling capacity, alter suspension travel and increase ride height.
Install Bigger Tires
Bigger tires can improve your Tundra's off-road ability and make it look more aggressive. That said, you must also keep in mind that the bigger tires have a negative impact on your gas mileage.
The largest tires you can fix on your 2nd generation Tundra without a lift kit are 286/65 R18 and 275/60 R20. However, with a 3" lift kit, you can expand your tire size to 305/60 R20, but this will require trimming.
It is important to state here that the major disadvantages of bigger tires are that:
They may cause your Tundra's odometer and speedometer to misread and will require reprogramming as a result.
You may have to correct the axle gear ratio to accommodate the larger tire size.
Change the Exhaust
A new exhaust system can give your Tundra a deeper, more aggressive sound and slightly improve its performance. Most aftermarket exhaust options are more effective at ridding the truck of harmful gases, thereby reducing engine restriction.
To change your exhaust, you will need to have a pick at the type and style of product that you will prefer. It is always important to do your research before deciding. Our top brands for the tundra 2nd gen are the Borla, Flowmaster, and Corsa.
When purchasing your exhaust, ensure you purchase all the hardware required to install it. Some exhausts require tailormade tools. Regardless, the basic tools for installing a new aftermarket exhaust are a socket set and an air tool.
- How to change the exhaust
The steps to changing an exhaust system are as follows:
Remove the old exhaust starting as far back as the catalytic converter. Do this by unscrewing the bolts joining the exhaust parts. Because some of these parts are hooked to the car underbelly, you may have to wiggle them out after unscrewing.
It may be difficult to mount a new exhaust on your vehicle without the help of a friend. So ask your friend to hold on to the exhaust pieces, keeping them in place as you screw them in. Ensure each part of the exhaust is snugly attached to the others. Always remember to connect the clamps that hold the exhaust in place and tighten the bolts. Failure to screw the bolts tight will cause the exhaust to leak.
Add a winch
Adding a winch to your Tundra can be a great way to improve its off-road capability. That is, if you are willing to get your hands dirty and sacrifice three to five hours of your time. Alternatively, you can opt for a professional to save from getting your fingers in some pretty tight corners. But if you prefer a DIY approach, the steps to installing a new winch are pretty much the same across all aftermarket products.
The first step is removing the bumper and grille by unscrewing all bolts near the fender wells. You can also use a 3-ton floor jack with a 2-ton cross beam to remove the bumper. This provides a bit of stability during the removal.
Depending on the winch you are installing, you may have to move your fog and driving lights (including the light bar). When doing so, carefully unplug or disconnect any wires attached to the lights.
Next, if required, you need an angle grinder to cut through the bumper to install the winch controller. Then install the winch into your stock bumper before putting in a fairlead and shackles.
Finally, mount your bumper back, and install the winch and winch mount before winding up the synthetic rope into the winch. This is best achieved with the help of a jack with a cross beam and a second person to hold the bumper in place.
Replace the headlights and housing
If you want to change the look of your Tundra and improve its nighttime visibility, consider replacing the stock headlights with aftermarket ones. The first step to making such a change is identifying the bulb number for your truck. For example, 2007 Tundras use a high beam 9005 and a low beam H11. Then look for aftermarket parts that fit your bulb's type and size.
To change the headlight casing or housing of your 2000 - 2006 tundra, you will have to start by removing the 10mm bolts found by the grille, the Phillips screw, and the body clip. Then disconnect the two and three-prong plugs to the light. Note that the daytime light has a clip on it.
Next, use a plastic body trim remover to tug out the corner lights gently. You may even thread a strong, thin rope behind the light and pull on the string until the corner light is out. This will unveil the last 10mm bolt, which you must remove. You will find an orange clip underneath the screw. Free the headlight assembly by pinching the clip with pliers.
Once you have removed your old headlight casing, you can mount the replacement on the Tundra. First, screw in the 10mm screw and then the 10mm nuts before reconnecting the plugs. Afterward, you can put back the corner light and body clip.
Perform the procedure on both sides of your Tundra
Conclusion
The second-generation tundra leaves us with plenty of room for modifications, from engine drivetrain, to interior and exterior looks and performance. Here we have explained six great modifications you can make to your truck to give it more aesthetics and boost performance and use.
About the authors
The CarAraC research team is composed of seasoned auto mechanics and automotive industry professionals, including individuals with advanced degrees and certifications in their field. Our team members boast prestigious credentials, reflecting their extensive knowledge and skills. These qualifications include: IMI: Institute of the Motor Industry, ASE-Certified Master Automobile Technicians; Coventry University, Graduate of MA in Automotive Journalism; Politecnico di Torino, Italy, MS Automotive Engineering; Ss. Cyril and Methodius University in Skopje, Mechanical University in Skopje; TOC Automotive College; DHA Suffa University, Department of Mechanical Engineering


Add comment