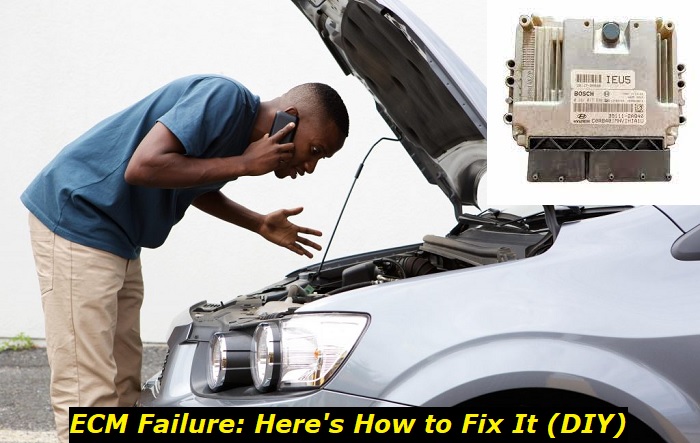
Attention all car owners! Are you experiencing Engine Control Module (ECM) failure and feeling overwhelmed? Don't worry, we've got you covered. With just a few simple DIY repairs, you can have your ECM back in action in no time.
ECM problems highlights
- Module's importance:Extremely high
- Prone to failure:Yes
- Reasons for failure:Water, damage, software, low voltage, high voltage
- Ways to reset:Cut power, use scanner tool
- Sphere of control:Engine and emissions
- Symptoms of failing:Engine anomalies, CEL light, no start, random warnings
- Price to repair:$150 - $350
- Price to replace:$800 - $1,700
Here are some steps you can take to fix ECM failure, and below you'll find each step explained and made as simple as possible. Get ready to be your own mechanic!
- Check the battery: A weak or dead battery can cause the ECM to fail. Check the battery voltage and replace it if necessary.
- Check the alternator: A faulty alternator can also cause ECM failure. Test the alternator and replace it if it is not functioning properly.
- Check the wiring: Check the wiring harness for any damage or corrosion. Clean or replace any damaged wires to ensure proper communication between the ECM and other parts of the vehicle.
- Replace the fuses: Check the fuses that control the ECM and replace any that are blown.
- Reset the ECM: In some cases, resetting the ECM can solve the problem. Disconnect the battery and let the car sit for a few minutes before reconnecting the battery and starting the engine.
Now let's move on to a Step-by-Step guide for each one.
Step-by-Step Guide for Checking the Battery
- Gather tools: Before starting, gather a digital multimeter and a wrench for removing the battery cables.
- Open the hood: Locate the hood release lever in the driver's compartment and open the hood.
- Locate the battery: The battery is usually located in the front of the engine compartment near the grille. It should have two cables attached to it: one positive (+) and one negative (-).
- Set the multimeter: Turn the multimeter to the voltage setting and make sure the probes are clean and free of rust.
- Test the voltage: Touch the positive (+) probe of the multimeter to the positive (+) battery terminal and the negative (-) probe to the negative (-) battery terminal. The multimeter should read between 12.5 and 12.7 volts, indicating a healthy battery.
- Check the battery cables: If the battery voltage is low, check the battery cables for any visible damage, corrosion, or loose connections. Clean or tighten any loose connections and replace any damaged cables.
- Replace the battery: If the battery voltage is still low, the battery may need to be replaced. Remove the battery cables using a wrench and replace the battery with a new one.
By following these steps, you can quickly determine if the battery is the cause of ECM failure and take appropriate action to resolve the issue. Remember to always wear protective gloves and safety glasses when working with batteries to avoid any accidents.
Step-by-Step Guide for Checking the Alternator
- Gather tools: Before starting, gather a digital multimeter and a wrench for removing the alternator belt.
- Open the hood: Locate the hood release lever in the driver's compartment and open the hood.
- Locate the alternator: The alternator is usually located on the front of the engine near the top. It should have a belt attached to it that connects to the engine.
- Set the multimeter: Turn the multimeter to the voltage setting and make sure the probes are clean and free of rust.
- Test the alternator output: Disconnect the battery cables and start the engine. Touch the positive (+) probe of the multimeter to the positive (+) alternator terminal and the negative (-) probe to the negative (-) alternator terminal. The multimeter should read between 13.5 and 14.5 volts, indicating a functioning alternator.
- Check the alternator belt: If the alternator output is low, check the alternator belt for any visible damage, looseness, or cracks. Replace the belt if necessary.
- Replace the alternator: If the alternator output is still low, the alternator may need to be replaced. Remove the alternator belt using a wrench and replace the alternator with a new one.
By following these steps, you can determine if the alternator is the cause of ECM failure and take appropriate action to resolve the issue. Remember to always follow safety precautions when working on the engine and seek professional help if needed.
Step-by-Step Guide for Checking the Wiring
- Gather tools: Before starting, gather a test light, a socket set, and electrical tape.
- Locate the wiring harness: The wiring harness for the ECM is usually located near the engine control module itself.
- Check for visible damage: Look for any visible damage such as frayed wires, broken connections, or corrosion on the wiring harness.
- Test the connections: Use a test light to test each connection in the wiring harness. Connect one end of the test light to good ground and touch the other end to each connection in turn. The test light should light up for each connection.
- Clean the connections: If any connections are not lighting up, clean them with a wire brush to remove any corrosion.
- Repair any damaged wires: If any wires are frayed or broken, cut away the damaged section and use electrical tape to secure the ends together.
- Replace the wiring harness: If the wiring harness is severely damaged or corroded, it may need to be replaced. Disconnect the wiring harness and replace it with a new one.
By following these steps, you can determine if the wiring is the cause of ECM failure and take appropriate action to resolve the issue. If you are unsure or inexperienced with electrical work, it is recommended to seek professional help.
Step-by-Step Guide for Replacing the Fuses
- Gather tools: Before starting, gather a fuse puller tool and a replacement fuse of the same amperage.
- Locate the fuse panel: The fuse panel for the ECM is usually located in the driver's compartment, under the dashboard, or in the engine compartment.
- Identify the fuses that control the ECM: Consult the owner's manual or an online diagram to determine which fuses control the ECM.
- Check the fuses: Use the fuse puller tool to remove each fuse and inspect it for any visible damage such as a melted filament.
- Replace any blown fuses: If any of the fuses are blown, replace them with a new fuse of the same amperage.
- Test the ECM: After replacing any blown fuses, start the engine and check if the ECM is functioning properly.
By following these steps, you can quickly determine if a blown fuse is the cause of ECM failure and take appropriate action to resolve the issue. If the ECM still does not function properly, continue to check the other potential causes as outlined in the article.
Step-by-Step Guide for Resetting the ECM
- Gather tools: Before starting, gather a wrench to disconnect the battery and a pair of gloves to protect your hands.
- Locate the battery: The battery is usually located in the engine compartment or under the hood.
- Disconnect the battery: Use a wrench to remove the negative (-) battery cable and make sure it is not touching any metal parts.
- Wait for a few minutes: Leave the battery disconnected for a few minutes to allow the ECM to reset. This can help clear any stored codes or data that may be causing the problem.
- Reconnect the battery: Reattach the negative (-) battery cable to the battery and tighten the connection.
- Start the engine: Turn the key to the on position and start the engine. Observe the ECM to see if it is functioning properly.
After trying these steps to reset the ECM, if the problem persists, it may be time to seek the assistance of a professional mechanic. It's important to thoroughly diagnose the issue to ensure a proper resolution.
About the authors
The CarAraC research team is composed of seasoned auto mechanics and automotive industry professionals, including individuals with advanced degrees and certifications in their field. Our team members boast prestigious credentials, reflecting their extensive knowledge and skills. These qualifications include: IMI: Institute of the Motor Industry, ASE-Certified Master Automobile Technicians; Coventry University, Graduate of MA in Automotive Journalism; Politecnico di Torino, Italy, MS Automotive Engineering; Ss. Cyril and Methodius University in Skopje, Mechanical University in Skopje; TOC Automotive College; DHA Suffa University, Department of Mechanical Engineering


Add comment