Bike brakes are essential for safety so worrying when your motorcycle brake refuses to retain pressure is valid. But where do you begin when you barely understand your vehicle's brake system, let alone reasons why it might malfunction?
We've done most of the work for you by analyzing the entire brake system of a problematic motorcycle. From here, you will find it easier to understand why your bike's rear brake has no pressure.

How does the brake system work?
To figure out why the braking system won't pressurize, you need to know how brakes typically function. In reality, hydraulic system troubleshooting isn't that complicated.
Hydraulic fluid is used in braking systems because it can generate the necessary pressure.
When you squeeze the hand brake lever or press on the rear brake pedal, fluid pressure is applied to the caliper piston and sliding arm. The caliper and master cylinder are interconnected, so this can function. A vacuum line is put in between the master cylinder and the caliper so that fluid doesn't leak out.
Slave cylinders are another name for the caliper. In this case, pressurized hydraulic fluid goes into the chamber and pushes the brake pads against the rotor. This generates the friction necessary for effective braking. Pressurized pistons in the caliper force the pads into the rotor.
When you press on the brakes, the system gets pressurized, which makes the pistons and brake pads move out. Similarly, letting off the brakes makes the system lose pressure.
As long as the braking system is applied correctly, even the smallest of touches will cause it to activate. When there isn't enough hydraulic pressure, the caliper's pistons and slide arms can't move, resulting in mushy controls and excessive stopping distances.
Before diagnosing the brake lines, you need to make sure the brake pads are in good shape. Over time, the brake pads will wear out as they grind against the rotor. When the brake pads are thicker and the braking distance between them is greater, the brake system is said to be under pressure.
If your brakes are losing pressure over time, you may only need to replace the pads to avoid a time-consuming diagnostic.
Why your motorcycle rear brake won't hold pressure?
Bad fluid, air, water, rust, and debris may find their way into brake lines and cause problems. Failures in the vacuum seal, banjo bolts, bleeder valves, or lines can also cause the brakes to lose pressure and become ineffective.
Let's consider a few of these causes below.
1) Old Fluid
The hydraulic fluid used to pressurize the brake line is called brake fluid. A fluid that is more than a year or two old should be discarded and replaced with new, sterile fluid.
This is because brake fluid is hygroscopic, that is, it pulls water from the air, which causes rust and corrosion.
Brake fluid that has been used for a long time has a brownish color, while fresh brake fluid looks clear. Your brake system has rust on it because water and air have worn it down over time.
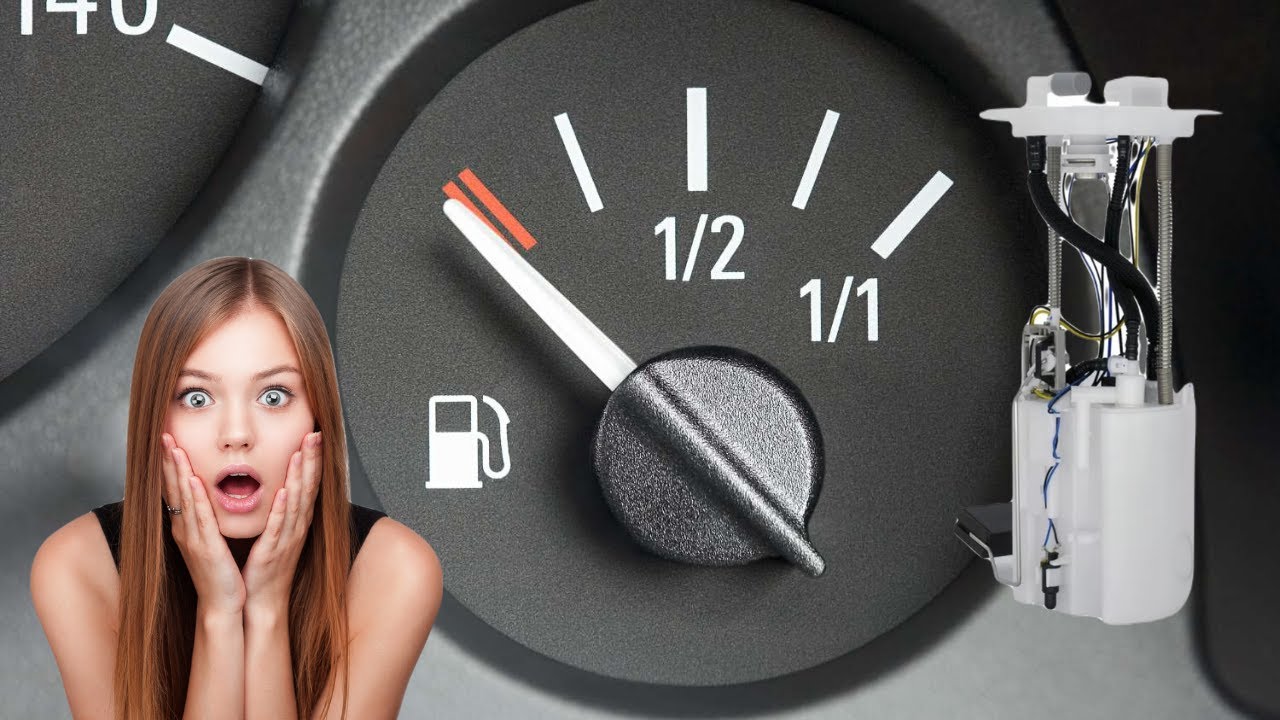
You can check the brake fluid by opening the reservoir on the right side of your handlebars. Before you choose to open the reservoir, wipe off the lid. When it comes to the brake line, we absolutely cannot have any debris, dirt, or dust getting in there.
When you open the reservoir, the braking fluid is visible. If the fluid has turned a dark color or is sludgy, it has to be bled out of the line so that fresh fluid may be pumped in.
There is also a little bleeder valve on your brake caliper. This control mechanism consists of a threaded screw with a hole in its middle. To prevent contamination while the system is being bled, a little rubber cover has to be placed on the end of the tube.
As simple as replacing the fluid might fix the problem.
There are various brake fluid options, including DOT 3, 4, 5, and 5.1. The right fluid type for your bike's reservoir will be clearly labeled and you should stick to this kind for your bike.
DOT 3, 4, and 5.1 are all light-yellow glycol-based fluids that are compatible with one another.
Do not combine DOT 5 with any other braking fluid since it's a proprietary purple silicone fluid. The brake lines can get seriously damaged if you do this, and this will require extra time and money.
2) Air in the Brake Line
Air might have gotten into the line the last time you bled the brakes. As a result, they will be unable to maintain the pressure required for the brakes to function. When the reservoir runs dry, air bubbles are pumped into the line by the master cylinder. So it's crucial to always make sure the reservoir is full.
A vacuum leak might also be the cause of your leaking brakes. Leaks in the vacuum or brake lines or worn-out rubber in the lines can both cause air to slowly build up in the hydraulic fluid. Due to this, molecules of air and water pass through the line.
Verify that your brake hose has no splits or holes in the rubber. If it's too old and rusted, you'll have to get a new one. Next, inspect the seals on both ends of the brake line. You should check for fluid leakage around the banjo bolt connecting the caliper and the master cylinder. Replace the washers on each side if necessary.
Once the leak has been fixed by putting on new washers, the brake line must be bled again before it can be re-pressurized.
How to Easily Bleed Your Brakes
Follow these steps to bleed your brakes before pumping in fresh fluid:
- Wrap rags or old shop clothing around the gas tank and other freshly painted surfaces. There is a high likelihood that brake fluid will eat through any paint that it comes into contact with.
- Carefully remove the cap from the fluid reservoir. To avoid letting impurities in, make sure you clean the reservoir lid before you open it. The rubber gasket can become vacuum-sealed if the reservoir has not been opened for some time or the gasket might break when you open the reservoir, spilling brake fluid everywhere.
- Since the fluid in this reservoir will be drained away, you must keep it full at all times. If the reservoir becomes dry, air sucks into the brake lines, making stopping much more difficult and time-consuming than usual.
- Find the screw that acts as a bleeder and take off the rubber cap that covers the bleeder screw head.
- Fasten a length of plastic tubing to the bleeder screw's exposed head and put the used fluid in a disposable plastic bottle by plugging the other end of the tube into it.
- Step on the brake - about three light pumps should do - and continue to hold it down.
- You can open the bleeder valve with a quarter- to half-turn of a crescent wrench so the fluid under pressure slowly starts to flow down the plastic tube and into the container. Close the valve afterward.
You need to apply the brakes, open the valve slightly, and then close it. Always make sure your brake fluid reservoir is full of fresh fluid. When clean fluid comes out of the brake line without any visible air bubbles, the system has been properly bled and is ready to be tested.
Learning how to bleed the brakes is important because it fixes most pressure problems in the brake line. Learning how to brake effectively requires a deep dive into the brake system.
3) Damaged Master Cylinder
If your brake line still won't pressurize, a malfunctioning master cylinder might be to blame. The rubber seals at the cylinder's end might be worn or the metal rod damaged. This means the cylinder will not be able to force fluid into the hydraulic line.
You should inspect the rubber boot, cylinder, rubber gasket on the interior, and spring for cracks, wear, and damage. The master cylinder must be rebuilt if it develops a problem.
You will have to disconnect the brake lever to access the master cylinder. To get to the external push rod, take the brake lever off. Also, take out the pushrod and its rubber sleeve. Remember to carefully remove the rubber boot so the cylinder and spring inside don't fall out.
Conclusion
Bike brakes are very essential. Operating habits, durations, effective interrelated components, and temperature affect them. Necessary maintenance after purchase should involve checking the brakes, and remember that adjusting and fixing other parts often fixes brake problems.
About the authors
The CarAraC research team is composed of seasoned auto mechanics and automotive industry professionals, including individuals with advanced degrees and certifications in their field. Our team members boast prestigious credentials, reflecting their extensive knowledge and skills. These qualifications include: IMI: Institute of the Motor Industry, ASE-Certified Master Automobile Technicians; Coventry University, Graduate of MA in Automotive Journalism; Politecnico di Torino, Italy, MS Automotive Engineering; Ss. Cyril and Methodius University in Skopje, Mechanical University in Skopje; TOC Automotive College; DHA Suffa University, Department of Mechanical Engineering


Add comment